Nexus Access Manual 2026
Complete guide from zero to first session
Complete guide from zero to first session
This manual is for people who have never used Nexus before and want to do it correctly from the start. It covers three things that must go right: reaching the real site instead of a phishing clone, protecting your account from takeover, and handling money in a way that doesn't link back to you. Follow the chapters in order. Skip none. The steps build on each other.
Three safety principles apply throughout. Always copy links — never type them. Keep your PGP private key on an air-gapped device, never on the same machine you use for Tor sessions. Withdraw funds from Nexus as soon as each transaction resolves, don't leave a balance sitting on-platform. These aren't suggestions. They're the difference between a session that ends cleanly and one that doesn't.
Nexus launched in November 2023 and has grown to 90,558 registered users with 1,845 verified vendors and 21,780 active listings as of April 2026. It's the platform overview for context on what it is. This manual is how to get there safely.
One place to get Tor Browser: torproject.org/download. That's it. Google results for "tor browser download" frequently surface third-party mirrors, bundled installers, and sites that exist specifically to distribute malware. The Tor Project is a non-profit. They don't charge for the browser. Any site asking for payment or account creation before download is a scam.
The download page offers Windows, macOS, Linux, and Android builds. The Android version is called Tor Browser for Android. There's no official iOS version — Privacy Guides recommends Onion Browser as the closest iOS alternative, though it carries limitations. For serious use, desktop is the right choice.
Every Tor Browser release ships with a detached PGP signature file. This confirms the file you downloaded matches what the Tor Project actually built. Skip it and you're trusting the network path between you and the download server. That's usually fine — but not fine enough when the stakes are what they are here.
Install GnuPG for your operating system. Import the Tor Project developer keys from the keyserver listed on the download page. Then run:
gpg --verify tor-browser.asc tor-browser.tar.xzA valid signature returns: "Good signature from The Tor Project." An invalid or missing signature means something went wrong. Delete the file and re-download directly from the official domain. Don't try to work around a failed verification.
The shield icon sits in the top-right corner of the Tor Browser toolbar. Click it. Three levels appear: Standard, Safer, and Safest. Select Safest. This disables JavaScript on all sites, restricts some media, and blocks certain fonts. It's the correct setting for any darknet session.
Standard mode exists for everyday browsing where you want JavaScript to work. Safest mode exists for this. Use the right configuration for the context. Switching back and forth between security levels mid-session is a habit that causes mistakes.
JavaScript running in your browser can collect and transmit your timezone, screen resolution, installed fonts, hardware details, and battery level. On a regular site this builds an ad profile. On a malicious site it builds an investigation profile. With Safest mode on, JavaScript is off. The fingerprinting vectors disappear.
Nexus loads completely without JavaScript. That's deliberate. The platform was designed to work at Safest — no functionality lost. A site claiming to be Nexus that insists JavaScript must be enabled to see anything is either compromised or a phishing clone. Close it without further interaction.
A .onion address is 56 characters of encoded random-looking text. Nexus's primary address runs from nexusaldu7wwew through another 42 characters after that. Type one character wrong and you reach a completely different address. Usually nothing loads. Sometimes a phishing site loads.
Phishing sites for Nexus are actively maintained. They match the real interface pixel-for-pixel — same color scheme, same layout, same fonts. The only reliable way to distinguish a phishing clone from the original is the .onion address character by character. One wrong character is all it takes. This is why you copy. Always. Go to the verified mirrors page, click the Copy button next to any address, paste it directly into Tor Browser's address bar.
Don't use .onion addresses from Telegram channels, Reddit posts, or forum replies you found through a search engine. Those are not verified. Use this portal, where addresses are cross-referenced against PGP-signed announcements from the Nexus admin on Dread.
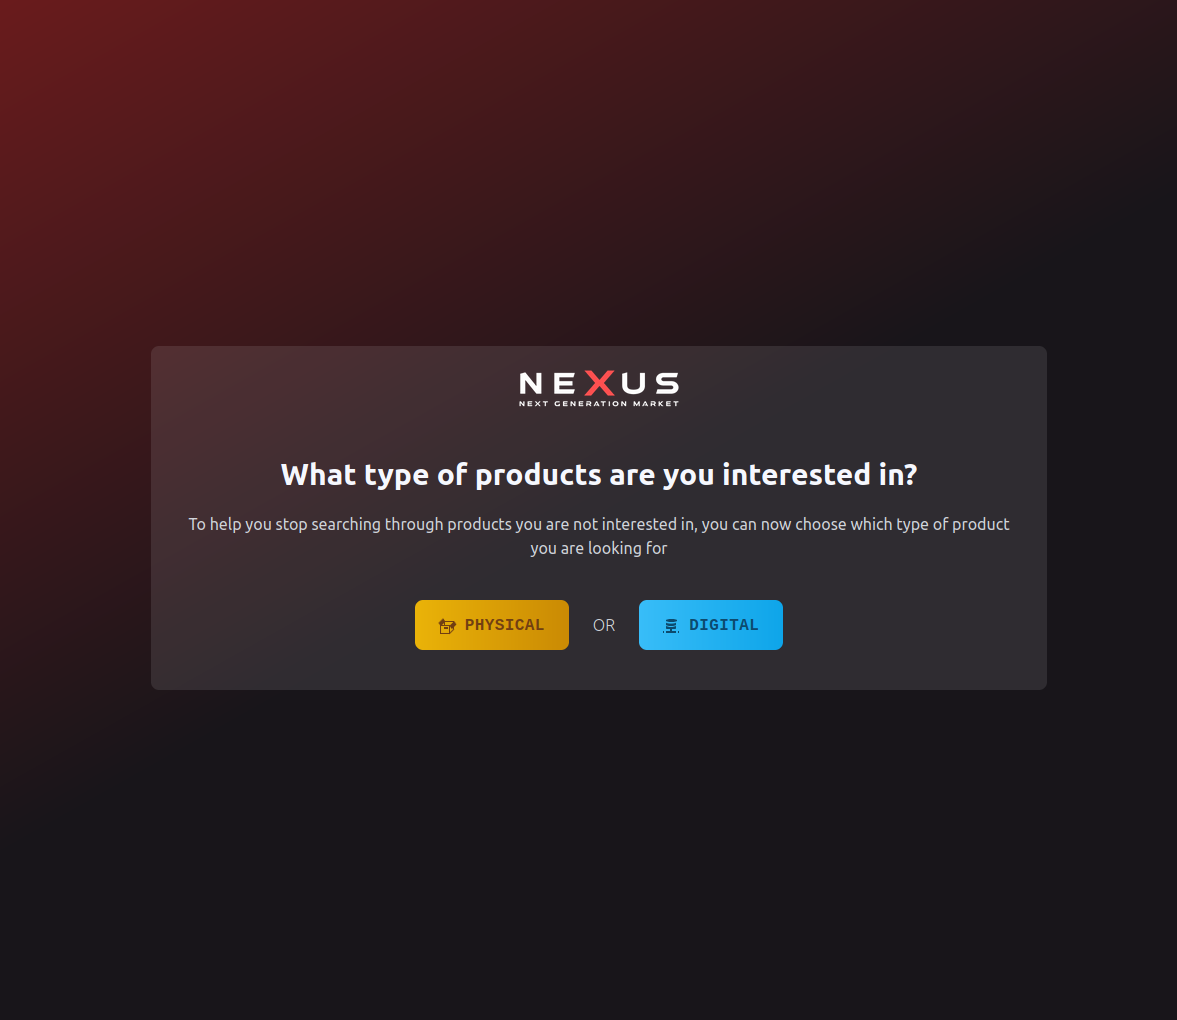
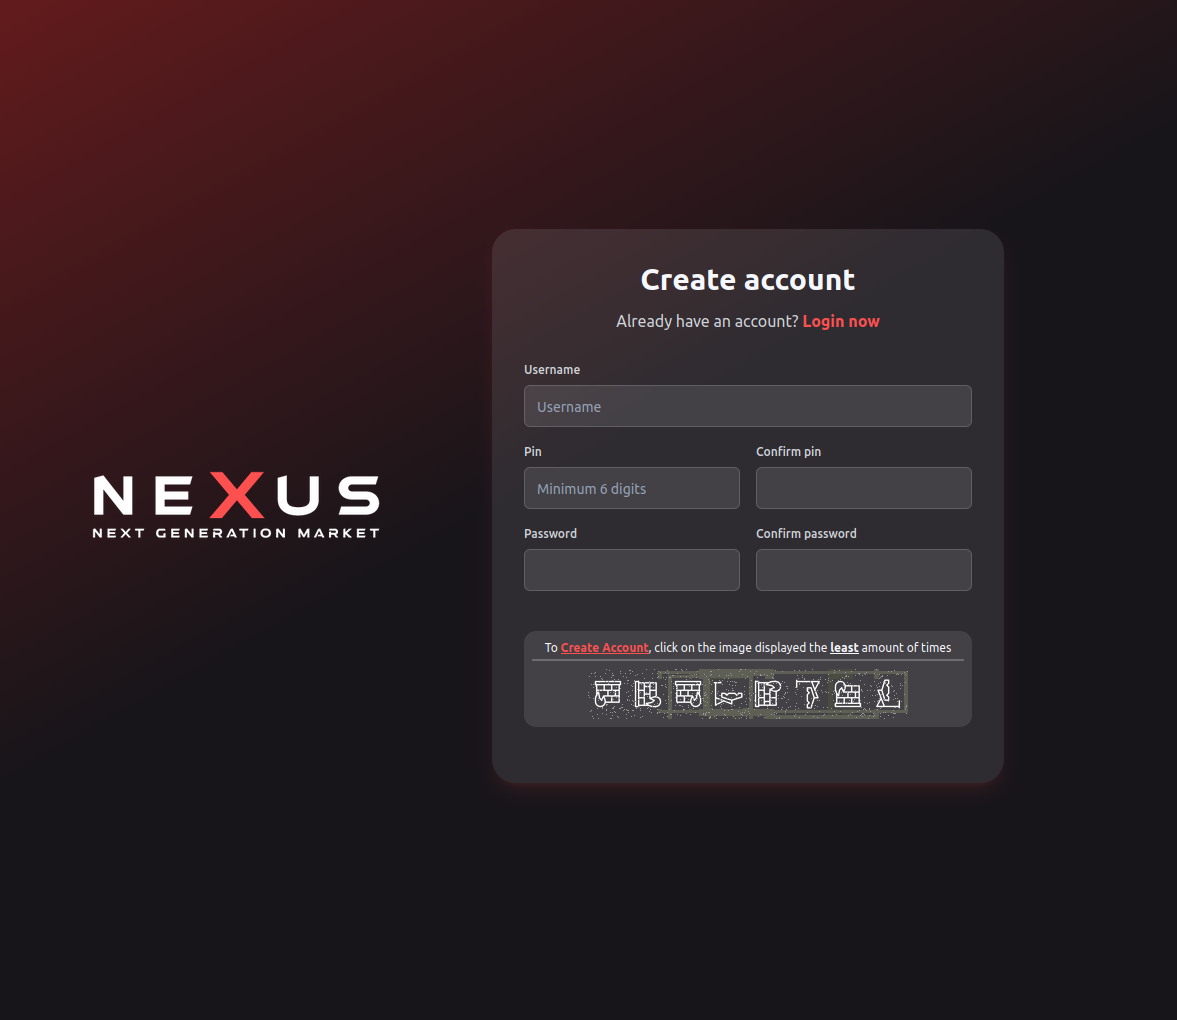
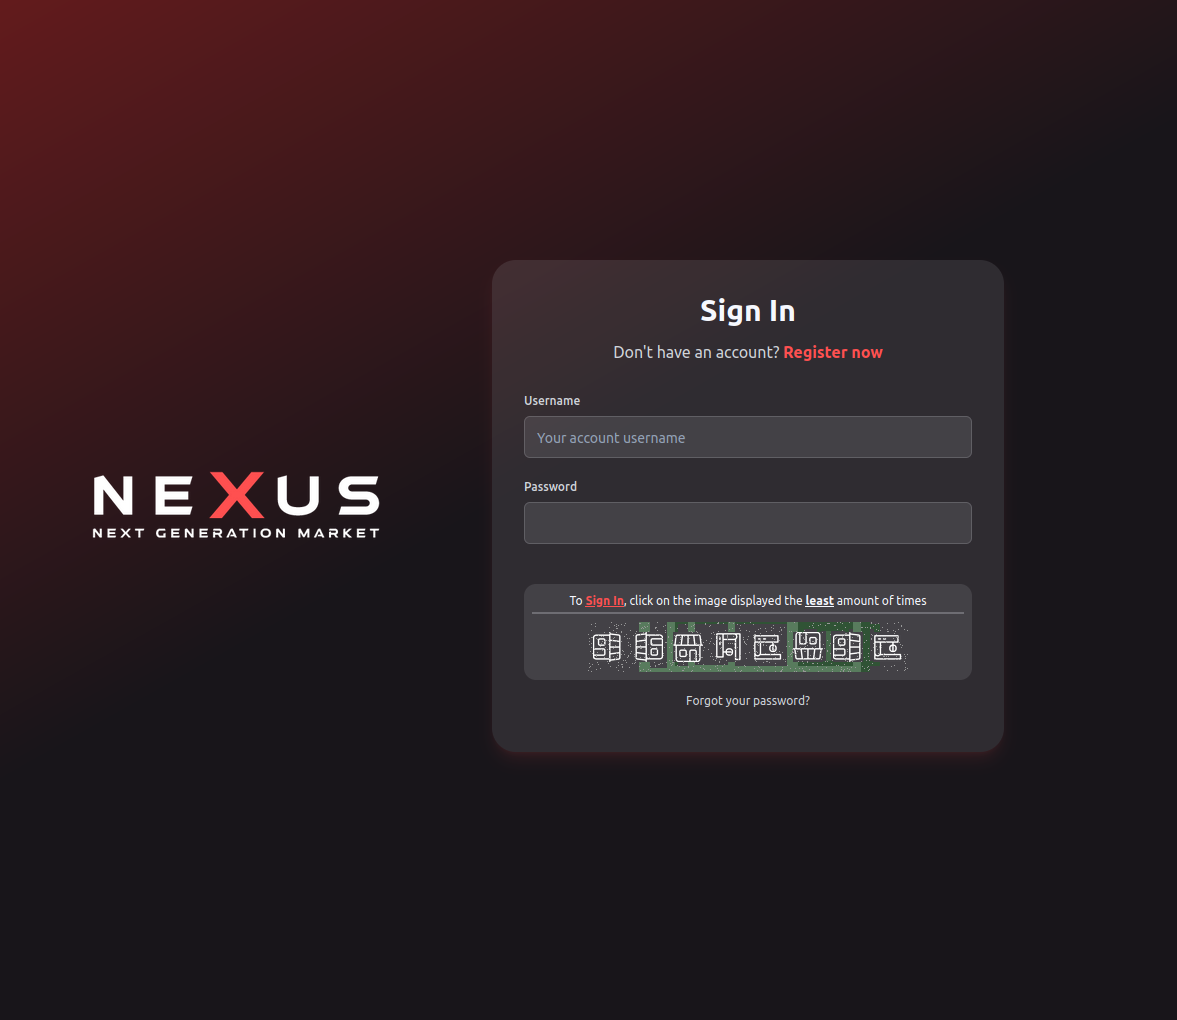
Nexus has the most distinctive visual identity among active darknet markets. Dark background with a purple-to-near-black gradient. Hot pink (hsl ~300°) and cyan as primary accent colors. Bold, slightly angular typography. The navigation sits horizontally across the top. Login screen shows the Nexus logo and a minimal input form. There's no stock-photo imagery and no generic dark theme — the cyberpunk aesthetic is unique enough that a well-designed phishing clone would still look slightly off on close inspection.
Load times via Tor are typically 8–22 seconds for the first page. Slow is normal — Tor adds latency as traffic bounces through multiple relays. Don't mistake a slow load for the wrong address. Give it 30 seconds before drawing conclusions about whether the connection worked.
Slow is fine. Brief maintenance windows are documented on Dread. What's not fine: a page that loads instantly with no Tor latency (wrong network), a page with a meaningfully different color scheme or layout from what's described above (different site), or a page that insists you enable JavaScript to see anything (phishing or compromised).
If one mirror is slow or timing out, switch to another. Nexus maintains four verified addresses. All four connect to the same platform — same accounts, same order history, same wallet balance. Try a different mirror from the list rather than retrying the same one. If all four are unreachable, check Dread for maintenance announcements before assuming a problem on your end.
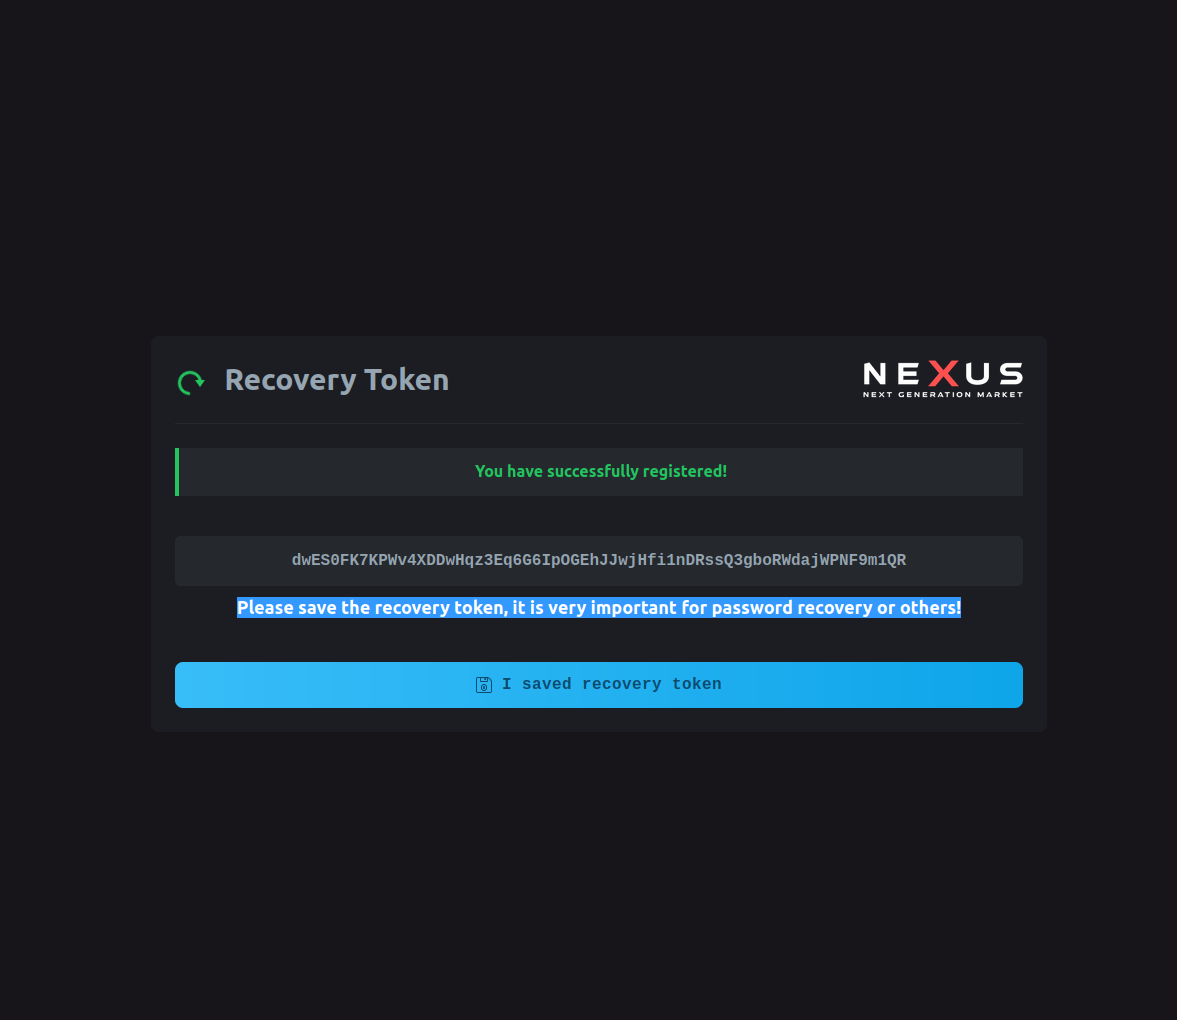
Registration takes about four minutes. Done right, it takes longer — generating a unique username and password on paper before starting is worth the extra time. The steps:
PGP (Pretty Good Privacy) is an encryption standard used for both authentication and message privacy on Nexus. Your PGP private key acts as a second authentication factor — you can log in without a password, using only your key. All vendor communications on the platform should be encrypted with PGP. This is not optional for anyone who cares about message confidentiality.
Install GnuPG. On Windows, Gpg4win includes Kleopatra (a GUI). On Linux and macOS, gpg is available in most package managers. Generate your key pair from the command line:
gpg --full-generate-keySelect RSA and RSA at 4096 bits. Set an expiry of 1–2 years rather than "never expire" — a key that expires can be revoked cleanly, a key that never expires can't. For the name and email fields, use values with no personal connection: "Nexus User" and "user@example.com" are fine. These fields are cosmetic and appear in the public key file.
After generation, export your public key:
gpg --armor --export YOUR_KEY_ID > nexus-public.ascYour private key stays on your machine. It never uploads and never leaves your control. Make an encrypted backup on a separate air-gapped drive — VeraCrypt is reliable for this on all platforms. If you lose your private key, the account may not be recoverable.
After logging in, navigate to Settings then Security then PGP. Paste the contents of your nexus-public.asc file into the upload field and save. Nexus displays the fingerprint of the uploaded key. Run gpg --fingerprint locally and compare the two fingerprints character by character. They must match. A mismatch means something went wrong in the paste — re-export and re-upload.
TOTP 2FA adds a time-based one-time code on top of your password. Combined with PGP authentication, this creates three-factor protection: something you know (password), something you have locally (PGP private key), and something you have right now (a rotating 6-digit code). Account takeover requires compromising all three simultaneously.
Install an authenticator app. Open-source options: Aegis on Android, or command-line TOTP tools for Linux users who prefer to stay in the terminal. Navigate to Settings, then Security, then 2FA on Nexus. Scan the QR code or enter the secret key manually into the authenticator app. Copy the backup codes to an encrypted vault — not a phone screenshot, not a note app. Enter the first 6-digit code to confirm setup.
Monero (XMR) uses confidential transactions by default. Sender address, recipient address, and transaction amount are all obscured at the protocol layer. This isn't a privacy feature you opt into — it's the baseline behavior. Bitcoin and Litecoin transactions are recorded on public blockchains where anyone can see every address and amount. Monero transactions can't be traced that way.
On Nexus specifically, Monero escrow fees run lower than Bitcoin. Confirmation times average around 2 minutes. And if the platform ever had a data incident, Monero transaction history can't be reconstructed from chain data the way Bitcoin's can — because Monero's chain doesn't contain that data in the first place. For anyone with ongoing privacy requirements, XMR is the correct choice. Done. That said, Nexus supports BTC and LTC for users who have specific reasons to prefer them.
The flow: acquire XMR on an exchange, withdraw to a self-custody wallet, then from the self-custody wallet, deposit to Nexus. Never send directly from an exchange. Exchange withdrawal addresses are linked to your KYC identity. The extra step of going through a self-custody wallet breaks that chain.
The official Monero wallet (CLI or GUI) is the reference implementation. Feather Wallet is an open-source alternative with a simpler interface. Avoid custodial wallets entirely — in this context, "not your keys" means the custodian's data is a direct link between your identity and your deposits. The extra step of self-custody is not optional for serious use.
BTC is the most accessible. Most exchanges list it, most people who have touched crypto hold some. If you're starting from Bitcoin and want to begin before converting to Monero, that's workable. The privacy tradeoff is lower — Bitcoin transactions are traceable on the public blockchain — but escrow architecture works the same way regardless of which currency you use.
LTC has fast confirmation times and low fees. Average confirmation is around 2.5 minutes. Fees are a fraction of Bitcoin's. Good for smaller amounts that need to move quickly, and for users who already hold Litecoin. The privacy profile is similar to Bitcoin: public ledger, traceable transactions.
| Factor | Monero (XMR) | Bitcoin (BTC) | Litecoin (LTC) |
|---|---|---|---|
| Transaction privacy | Confidential by default | Public ledger | Public ledger |
| Avg. confirmation time | ~2 min | 10–60 min | ~2.5 min |
| On-chain fees | Lowest | Variable / can be high | Low |
| Exchange availability | Most major exchanges | Universal | Widely available |
This question comes up constantly. Short answer: it depends on your threat model. VPN before Tor hides your Tor usage from your ISP — useful if your ISP actively monitors traffic and you need Tor's use itself to be invisible. But adding a VPN also introduces a third party who sees your encrypted Tor traffic and knows your identity. That's a trust dependency on the VPN provider.
Mullvad accepts Monero, publishes no-logs audits, and is the most privacy-respecting commercial VPN option if you go this route. VPN after Tor (meaning Tor then VPN) is almost always wrong — it de-anonymizes exit traffic, which defeats the purpose of Tor for protecting outbound connections. For most users accessing Nexus, Tor alone is sufficient protection. Tails or Whonix provides meaningfully stronger session isolation than any VPN alone.
A dedicated device — old laptop, air-gapped machine, anything not used for everyday activity — reduces bleed between your normal digital life and your Nexus sessions. That's the gold standard. Not feasible for everyone.
The practical alternative: boot from Tails on a USB drive. Tails leaves no trace on the host machine. Every session starts clean. No history, no cached credentials, no residual activity. Tails does support an encrypted persistent volume if you want to store your PGP key across sessions — configure it carefully and use a strong passphrase on the volume itself.
For full-disk encryption on a dedicated machine, VeraCrypt on Windows and LUKS on Linux are both solid. Qubes OS provides hardware-level compartmentalization — each application runs in a separate VM, so a compromise of one context doesn't propagate to others. More complex to set up, but worth knowing exists for high-risk users. I2P is an alternative anonymity network worth understanding alongside Tor, though Nexus operates as a Tor onion service specifically.
All messages on Nexus should be PGP-encrypted. The platform supports this natively. When contacting a vendor, encrypt your message to their public key before sending. They respond encrypted to yours. Even if Nexus servers were compromised, the message contents would remain ciphertext to an attacker without your private key.
Verify vendor PGP keys before any significant order. A legitimate vendor with a real track record will have their key fingerprint posted on Dread, signed by established community members. A new vendor without external key verification is a higher-risk relationship regardless of their Nexus rating score. Escrow protects funds. It doesn't protect your shipping address. Think about what you're sharing and with whom, separately from what escrow covers.
For off-platform vendor contact, use Signal or Briar. Avoid Telegram — Telegram group chats and channels are not end-to-end encrypted, the company stores message metadata, and they have disclosed user data under legal process in documented cases. A secure-looking app that isn't actually secure is worse than using nothing, because it creates false confidence.
Manual complete. Next step: go to the verified mirrors page, copy an address, and open it in Tor Browser with security set to Safest. If you want background on the platform before your first session, the full platform story has the history and context. Questions on a specific step? The FAQ on the homepage covers the most common ones.
All four mirrors verified April 21, 2026. Primary node handshake: OK. Copy the address below. Paste into Tor Browser at Safest level. Don't type it.
This website is an independent informational resource. We do not distribute marketplace links to visitors arriving through direct access.
Verified .onion addresses are displayed exclusively to visitors arriving through search engine results. Find this page through Bing or Google for nexus market links.
Open links directory